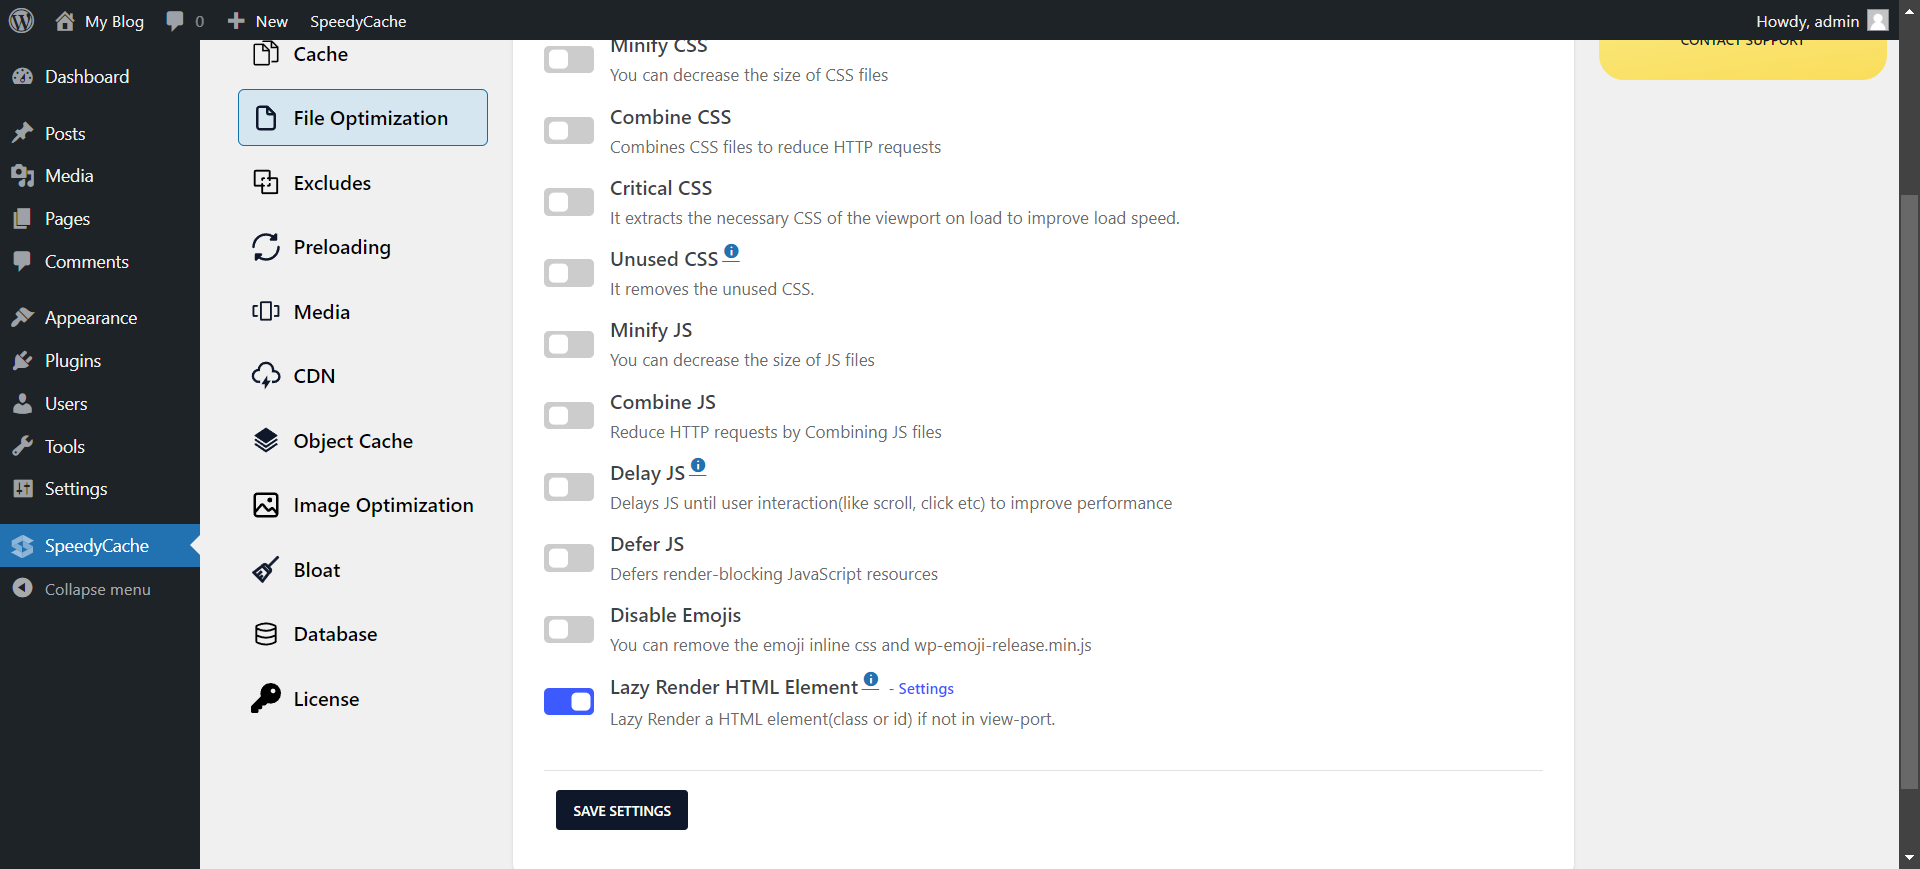
Lazy Rendering of HTML elements can help in reducing the Rendering time of your HTML page, and improving the Largest Contentful paint.
Lazy rendering is a technique that defers loading of non-critical HTML elements until they are needed. This can help to improve page speed and user experience, especially on complex websites and websites with large pages.
When a web page is loaded, the browser first renders the critical rendering path (CRP). The CRP is the set of elements that are essential for the page to be displayed and interacted with. Once the CRP is rendered, the browser can start loading the rest of the page's resources.
Lazy rendering allows the browser to skip rendering of non-critical elements until they are needed. This can save a significant amount of rendering time, which can help to improve the Largest Contentful Paint (LCP) metric. LCP measures the time it takes for the largest contentful element (LCE) on a page to become visible.
Note: This feature will work with, Chromium browsers like Google Chrome, Microsoft Edge, Brave. It will work with Opera Browser too. In Firefox this feature is not enabled by default, for more information check Browser Compatibility.
There is a difference between Lazy Load and Lazy Render. The object that is subjected to get Lazy Render gets loaded same time as other content, its just the Rendering of the element is skipped till that element comes into view-port.
Whereas in case of Lazy Load the object gets loaded later, which means that element get loaded and rendered after it has reached the view-port.
To use Lazy Rendering HTML element in SpeedyCache follow the steps below :-
1. In your WordPress admi go to SpeedyCache from the left Navigation.
2. Once you are on SpeedyCache Settings page, now in the settings tab in the File Optimization section enable Lazy Render HTML element.

3. One you enable it you will get a pop-up or you can click on the settings link to open the pop-up.
4. Now you have to get classes or id you want to Lazy Render.

5. Once you add the classes and ID's then submit it and then save setting. And now your elements will be rendered lazy. They will only be rendered once they get into view-port.
Lazy Render HTML through CSS
If you want to do it on your own you can just add this small CSS to Lazy Render your elements.
#element_id{content-visibility:auto;contain-intrinsic-size:1px 1000px;}You can add this CSS through your Customizer in WordPress or directly add to theme CSS file. Make sure to replace the #element_id with the ID of the element you want to replace.
In case you want to Lazy Render multiple elements, you can do something like the following.
#element_id, .element_class, aside{content-visibility:auto;contain-intrinsic-size:1px 1000px;}If you face any issue you can contact out support team and we will help you out. Write us at support@speedycache.com
